As a Python developer, you’ll quickly discover that managing project dependencies is one of the most critical aspects of building reliable applications. Different projects often require different versions of the same library. Installing everything globally is a recipe for disaster. This is where virtual environments come to the rescue, providing a clean, isolated space for each of your projects.
Think of a virtual environment as a clean, independent workshop for each project you build. You wouldn’t use the same messy workbench for woodworking and metalworking; the same logic applies to your Python projects.
What is a Virtual Environment?
A Python virtual environment is a self-contained directory tree that contains a specific Python installation and a number of additional packages. By creating and activating a virtual environment, you ensure that any packages you install will be isolated from your global Python installation and from other virtual environments. This prevents “dependency hell” and makes your projects portable and reproducible.
Since Python 3.3, the venv module has been the standard, built-in way to create virtual environments, so you don’t need to install any third-party tools.
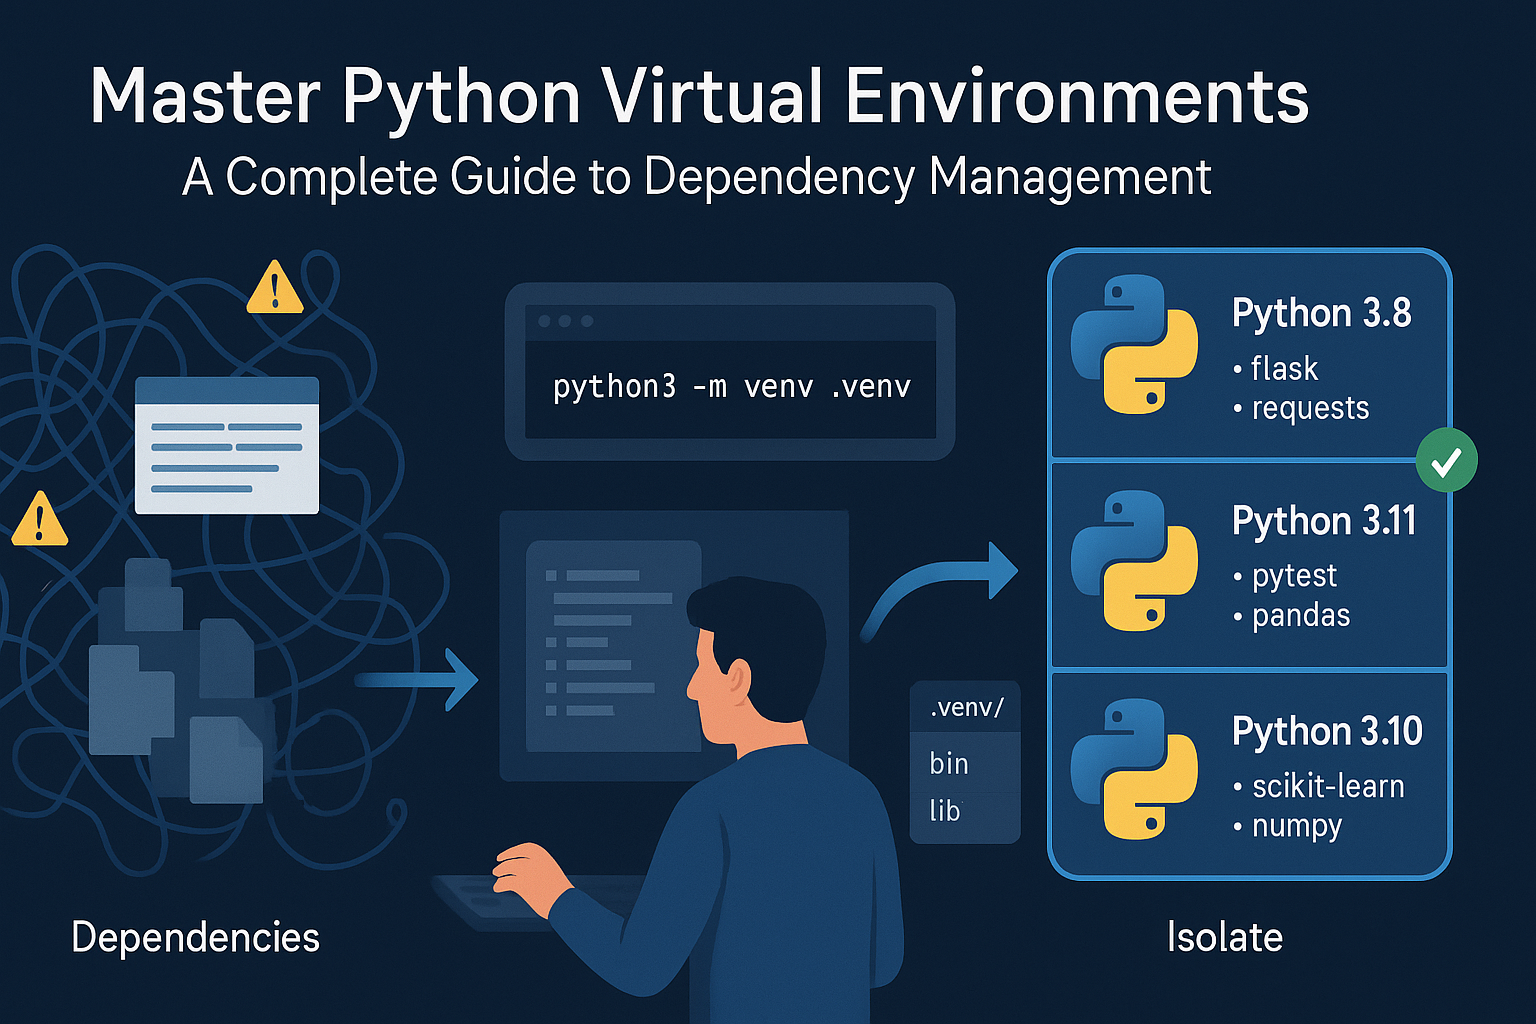
Step 1: Creating a Virtual Environment
First, navigate to your project’s directory in your terminal. It’s a best practice to create the virtual environment inside the project folder itself. The standard convention is to name the environment folder .venv or venv.
Run the following command to create a new virtual environment named .venv:
python3 -m venv .venvAfter running this, you will see a new directory named .venv in your project. This directory contains a copy of the Python interpreter, the standard library, and various supporting files.
Step 2: Activating the Environment
Creating the environment isn’t enough; you must “activate” it to start using it. Activating the environment modifies your shell’s path to point to the Python executable and scripts within the .venv directory.
On Linux or macOS, use the following command:
source .venv/bin/activateOnce activated, you will see the name of your virtual environment in parentheses at the beginning of your shell prompt, like this: (.venv) $. This indicates that your terminal session is now operating inside the virtual environment.
Step 3: Installing Packages
With your environment active, you can now install packages using pip. Any package you install will be placed inside the .venv directory, leaving your global Python installation untouched.
Let’s install the popular requests library:
pip install requestsYou can verify that it’s installed by creating a simple Python script. Create a file named app.py and add the following code:
import requests

try:
    response = requests.get('https://api.github.com')
    response.raise_for_status()  # Raise an exception for bad status codes (4xx or 5xx)
    print("Successfully connected to the GitHub API!")
    print(f"Status Code: {response.status_code}")
except requests.exceptions.RequestException as e:
    print(f"An error occurred: {e}")
Run the script from your activated terminal:
python app.pyIf everything is set up correctly, it will print a success message!
Step 4: Managing Dependencies with requirements.txt
To make your project reproducible for others (or for your future self), you should create a list of all its dependencies. This is done with a requirements.txt file.
Run this command to generate the file:
pip freeze > requirements.txtThis command “freezes” the current state of your environment’s packages and saves them to the file. Now, anyone can clone your project, create their own virtual environment, and install all the exact dependencies with a single command:
pip install -r requirements.txtStep 5: Deactivating the Environment
When you’re finished working on your project, you can leave the virtual environment by simply running:
deactivateYour shell prompt will return to normal, and you’ll be back to using your system’s global Python installation.
Conclusion
Using virtual environments is a non-negotiable best practice for modern Python development. They provide project isolation, solve dependency conflicts, and make your work incredibly easy to share and deploy. By making venv a part of your standard workflow, you’re setting yourself up for cleaner, more professional, and less frustrating development sessions.
Watch The Video
Watch on YouTubeHow did this article make you feel?
Share This Post
You Might Also Like

A complete step-by-step JavaScript tutorial for absolute beginners. Learn variables,…

Learn to build a full-stack AI chatbot using Google's Gemini API, Django backend, and…

You've poured hours into building your Django application. The models are perfected, the…

Learn to build a full-stack CRUD (Create, Read, Update, Delete) application step-by-step…
Leave a Reply