How to Build Full Backend Authentication in Django with Djoser: A Step-by-Step Guide
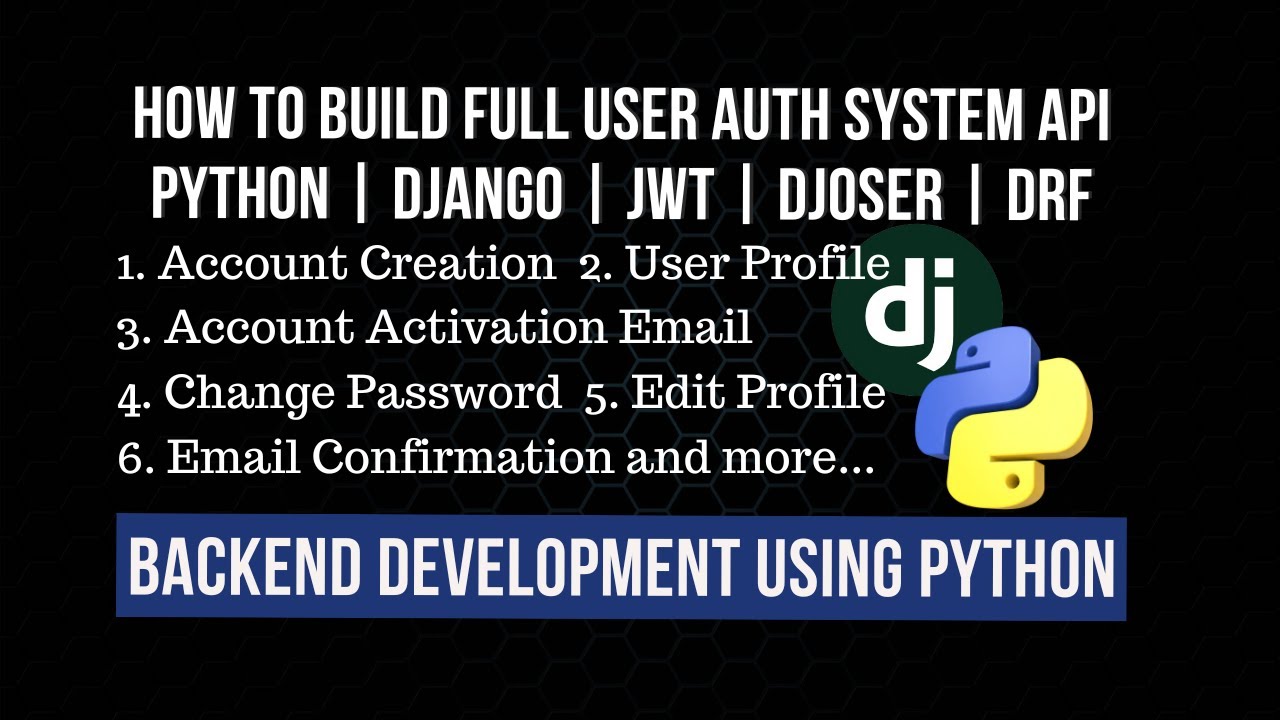
How to Build Full Backend Authentication in Django with Djoser
Building secure, robust user authentication is a critical step for most web applications. While Django provides an excellent foundation, extending it for modern REST APIs can become complex. Enter Djoser, a REST implementation of Django’s authentication system that provides ready-to-use endpoints for user registration, login, logout, password reset, and more.
This comprehensive guide walks you through building a complete authentication backend using Django and Djoser. We’ll build a system supporting JSON Web Token (JWT) authentication, user registration, profile management, and email-based password resets. By the end, you’ll have a production-ready authentication API you can integrate with any frontend framework like React, Vue.js, or Angular.
To watch the full tutorial on YouTube, click here.
Prerequisite: This tutorial is designed for developers familiar with Python basics and who have some exposure to Django. You should have Python (3.8+) and pip installed on your system.
Project Setup and Virtual Environment
Let’s start by creating a clean, isolated environment for our project. Using a virtual environment is a best practice that prevents dependency conflicts between your projects.
First, open your terminal and create a new project directory.
1. Creating the Project Directory and Virtual Environment
# Create and navigate into your project folder
mkdir django_djoser_auth
cd django_djoser_auth

# Create a Python virtual environment
python -m venv venv

# Activate the virtual environment
# On Windows:
venv\Scripts\activate
# On macOS/Linux:
source venv/bin/activate
Once activated, your terminal prompt should change, showing (venv) at the beginning. This confirms you’re working inside the isolated environment.
2. Installing Core Dependencies
With the environment active, install the necessary Python packages. We’ll need Django itself, Djoser for authentication, and several supporting libraries.
pip install django djangorestframework djoser
pip install social-auth-app-django python-decouple django-cors-headers
Let’s break down these packages:
django: The core web framework.djangorestframework(DRF): For building our RESTful API.djoser: Provides our authentication endpoints.social-auth-app-django: Allows for “social” logins (Google, Facebook, etc.).python-decouple: Manages environment variables and secrets securely.django-cors-headers: Handles Cross-Origin Resource Sharing (CORS), essential for API-frontend communication.
Initializing the Django Project and Core App
Now, we’ll create the Django project and our primary application. We’ll name the project core and create an app named accounts to house our custom user model.
1. Creating the Project and App
# Create the Django project named 'core'
django-admin startproject core .

# Create an app named 'accounts'
python manage.py startapp accounts
The . after core tells Django to create the project in the current directory, avoiding an extra nested folder.
2. Defining a Custom User Model
One of the most important Django best practices is to define a custom user model at the start of a project. It’s much harder to change later. We’ll extend the base AbstractUser model to give us flexibility for future enhancements.
Open accounts/models.py and replace its contents:
from django.db import models
from django.contrib.auth.models import AbstractUser
from django.utils.translation import gettext_lazy as _

class User(AbstractUser):
    """
    Custom User model extending Django's AbstractUser.
    We keep it simple for now but can add fields later (e.g., profile_picture, bio).
    """
    email = models.EmailField(_('email address'), unique=True)

    USERNAME_FIELD = 'email'
    REQUIRED_FIELDS = ['username']

    def __str__(self):
        return self.email
3. Updating the Configuration (settings.py)
We need to inform Django about our custom user model and register all the installed apps. Let’s update core/settings.py step by step.
First, add the new apps to the INSTALLED_APPS list. Also, we’ll set up a .env file for sensitive data using python-decouple.
Create a file named .env in your project root (same level as manage.py) and add a secret key:
# .env file
SECRET_KEY=your-super-secret-django-key-here-change-this
DEBUG=True
Now, update the top of your core/settings.py to use decouple and configure the custom user model.
"""
Django settings for core project.
Generated by 'django-admin startproject' using Django 4.x.
"""
from pathlib import Path
from decouple import config

# Build paths inside the project like this: BASE_DIR / 'subdir'.
BASE_DIR = Path(__file__).resolve().parent.parent

# SECURITY WARNING: keep the secret key used in production secret!
SECRET_KEY = config('SECRET_KEY')

# SECURITY WARNING: don't run with debug turned on in production!
DEBUG = config('DEBUG', cast=bool, default=False)

ALLOWED_HOSTS = []

# Application definition
INSTALLED_APPS = [
    'django.contrib.admin',
    'django.contrib.auth',
    'django.contrib.contenttypes',
    'django.contrib.sessions',
    'django.contrib.messages',
    'django.contrib.staticfiles',
    # Third-party apps
    'rest_framework',
    'djoser',
    'social_django',
    'corsheaders',
    'rest_framework_simplejwt',
    'rest_framework_simplejwt.token_blacklist',
    # Local apps
    'accounts',
]

# Tell Django to use our custom User model
AUTH_USER_MODEL = 'accounts.User'

MIDDLEWARE = [
    'django.middleware.security.SecurityMiddleware',
    'corsheaders.middleware.CorsMiddleware',  # CORS middleware should be high
    'django.contrib.sessions.middleware.SessionMiddleware',
    'django.middleware.common.CommonMiddleware',
    'django.middleware.csrf.CsrfViewMiddleware',
    'django.contrib.auth.middleware.AuthenticationMiddleware',
    'django.contrib.messages.middleware.MessageMiddleware',
    'django.middleware.clickjacking.XFrameOptionsMiddleware',
]

ROOT_URLCONF = 'core.urls'

TEMPLATES = [
    {
        'BACKEND': 'django.template.backends.django.DjangoTemplates',
        'DIRS': [],
        'APP_DIRS': True,
        'OPTIONS': {
            'context_processors': [
                'django.template.context_processors.debug',
                'django.template.context_processors.request',
                'django.contrib.auth.context_processors.auth',
                'django.contrib.messages.context_processors.messages',
            ],
        },
    },
]

WSGI_APPLICATION = 'core.wsgi.application'

# Database (using SQLite for simplicity. For production, use PostgreSQL)
DATABASES = {
    'default': {
        'ENGINE': 'django.db.backends.sqlite3',
        'NAME': BASE_DIR / 'db.sqlite3',
    }
}

# Password validation
AUTH_PASSWORD_VALIDATORS = [
    {
        'NAME': 'django.contrib.auth.password_validation.UserAttributeSimilarityValidator',
    },
    {
        'NAME': 'django.contrib.auth.password_validation.MinimumLengthValidator',
    },
    {
        'NAME': 'django.contrib.auth.password_validation.CommonPasswordValidator',
    },
    {
        'NAME': 'django.contrib.auth.password_validation.NumericPasswordValidator',
    },
]

# Internationalization
LANGUAGE_CODE = 'en-us'
TIME_ZONE = 'UTC'
USE_I18N = True
USE_TZ = True

# Static files (CSS, JavaScript, Images)
STATIC_URL = 'static/'

# Default primary key field type
DEFAULT_AUTO_FIELD = 'django.db.models.BigAutoField'
Security Note: Never commit your
.envfile to version control (like Git). Add it to your.gitignorefile. Theconfig()function fromdecouplesafely pulls values from this file or from environment variables on your server.
4. Configuring REST Framework and Djoser
Now, the heart of our setup. Add the following configuration at the bottom of core/settings.py to set up DRF, Simple JWT (for token handling), Djoser, and CORS.
# REST Framework settings
REST_FRAMEWORK = {
    'DEFAULT_PERMISSION_CLASSES': [
        'rest_framework.permissions.IsAuthenticated',
    ],
    'DEFAULT_AUTHENTICATION_CLASSES': (
        'rest_framework_simplejwt.authentication.JWTAuthentication',
    ),
}

# JWT Settings (using Simple JWT)
from datetime import timedelta
SIMPLE_JWT = {
    'AUTH_HEADER_TYPES': ('JWT', 'Bearer'),
    'ACCESS_TOKEN_LIFETIME': timedelta(minutes=60),
    'REFRESH_TOKEN_LIFETIME': timedelta(days=1),
    'AUTH_TOKEN_CLASSES': (
        'rest_framework_simplejwt.tokens.AccessToken',
    ),
}

# Djoser Settings
DJOSER = {
    'LOGIN_FIELD': 'email',
    'USER_CREATE_PASSWORD_RETYPE': True,
    'USERNAME_CHANGED_EMAIL_CONFIRMATION': True,
    'PASSWORD_CHANGED_EMAIL_CONFIRMATION': True,
    'SEND_CONFIRMATION_EMAIL': True,
    'SET_USERNAME_RETYPE': True,
    'SET_PASSWORD_RETYPE': True,
    'PASSWORD_RESET_CONFIRM_URL': 'password/reset/confirm/{uid}/{token}',
    'USERNAME_RESET_CONFIRM_URL': 'email/reset/confirm/{uid}/{token}',
    'ACTIVATION_URL': 'activate/{uid}/{token}',
    'SEND_ACTIVATION_EMAIL': True,
    'SOCIAL_AUTH_TOKEN_STRATEGY': 'djoser.social.token.jwt.TokenStrategy',
    'SOCIAL_AUTH_ALLOWED_REDIRECT_URIS': ['http://localhost:8000', 'http://localhost:3000'],
    'SERIALIZERS': {
        'user_create': 'accounts.serializers.UserCreateSerializer',
        'user': 'accounts.serializers.UserCreateSerializer',
        'current_user': 'accounts.serializers.UserCreateSerializer',
        'user_delete': 'djoser.serializers.UserDeleteSerializer',
    }
}

# Email Backend Configuration (Console for development)
EMAIL_BACKEND = 'django.core.mail.backends.console.EmailBackend'
# For production, use SMTP:
# EMAIL_BACKEND = 'django.core.mail.backends.smtp.EmailBackend'
# EMAIL_HOST = 'smtp.gmail.com'
# EMAIL_PORT = 587
# EMAIL_USE_TLS = True
# EMAIL_HOST_USER = config('EMAIL_USER')
# EMAIL_HOST_PASSWORD = config('EMAIL_PASSWORD')

# CORS Settings (Allow your frontend origin)
CORS_ALLOWED_ORIGINS = [
    "http://localhost:3000",  # React default port
    "http://127.0.0.1:3000",
]
Creating Custom Serializers
Djoser uses serializers to control how user data is converted to and from JSON. We’ll create a custom serializer to work with our custom User model. Create a new file: accounts/serializers.py.
from djoser.serializers import UserCreateSerializer
from rest_framework import serializers
from .models import User

class UserCreateSerializer(UserCreateSerializer):
    """
    Custom serializer for user creation that uses our custom User model.
    Inherits from Djoser's UserCreateSerializer to leverage its logic
    while ensuring it uses the correct model.
    """
    class Meta(UserCreateSerializer.Meta):
        model = User
        fields = ('id', 'email', 'username', 'password', 'first_name', 'last_name')
This serializer tells Djoser which fields to include when a new user registers or when user data is returned.
Setting Up Project URLs
We need to wire up all the authentication endpoints provided by Djoser and Simple JWT. Update your main core/urls.py file.
from django.contrib import admin
from django.urls import path, include
from rest_framework_simplejwt.views import TokenRefreshView

urlpatterns = [
    path('admin/', admin.site.urls),
    # Djoser authentication endpoints
    path('auth/', include('djoser.urls')),
    path('auth/', include('djoser.urls.jwt')),
    # Simple JWT token refresh endpoint
    path('api/token/refresh/', TokenRefreshView.as_view(), name='token_refresh'),
]
This configuration provides a comprehensive set of endpoints under the /auth/ path, such as /auth/users/ (registration), /auth/jwt/create/ (login), and /auth/users/me/ (current user profile).
Database Migrations and Creating a Superuser
With all models and settings configured, it’s time to create the database tables and an admin user.
# Create initial migrations for the accounts app and the built-in apps
python manage.py makemigrations accounts

# Apply all migrations to the database
python manage.py migrate

# Create a superuser to access the Django admin panel
python manage.py createsuperuser
Follow the prompts to set an email, username, and password for your superuser. Remember the email and password you set.
Testing the Authentication Endpoints
Now for the exciting part! Let’s start the development server and test our API using a tool like curl or, better yet, Postman or Thunder Client (a VS Code extension).
# Start the Django development server
python manage.py runserver
Your server will start at http://127.0.0.1:8000. Let’s test the key endpoints.
1. User Registration (POST /auth/users/)
This endpoint creates a new user. Send a POST request with JSON data.
Request Body (JSON):
{
    "email": "testuser@example.com",
    "username": "testuser",
    "password": "strongpassword123",
    "re_password": "strongpassword123"
}
A successful response (201 Created) will return the user’s data (excluding the password). You should also see an “activation email” printed in your terminal console because we’re using the console email backend.
2. User Login / Obtain JWT Tokens (POST /auth/jwt/create/)
This endpoint exchanges user credentials for a pair of JWT tokens: an access token (short-lived) and a refresh token (longer-lived).
Request Body (JSON):
{
    "email": "testuser@example.com",
    "password": "strongpassword123"
}
The response will look like this:
{
    "refresh": "very.long.refresh.token.here",
    "access": "very.long.access.token.here"
}
3. Accessing a Protected Endpoint (GET /auth/users/me/)
This endpoint returns the profile of the currently authenticated user. To access it, you must include the access token in the request’s Authorization header.
Request Header:
Authorization: JWT your.access.token.here
# or commonly also accepted:
Authorization: Bearer your.access.token.here
A successful request will return the current user’s details.
4. Refreshing an Access Token (POST /api/token/refresh/)
When the access token expires (after 60 minutes in our settings), you don’t need the user to log in again. Use the refresh token to get a new access token.
Request Body (JSON):
{
    "refresh": "very.long.refresh.token.here"
}
The response will be a new access token.
Key Takeaway: The access token is like a concert ticket—you need it to get in (access protected data), and it expires. The refresh token is like your receipt—you use it to get a new ticket without buying another one (re-authenticating). Always keep the refresh token secure!
Next Steps and Going to Production
Congratulations! You’ve built a fully functional authentication backend. Here’s how to move forward:
- Frontend Integration: Use the endpoints from a React, Vue, or Angular application. Store the tokens securely (in an HTTP-only cookie or secure client-side storage).
- Email Configuration: Replace the
console.EmailBackendwith a real SMTP service (like Gmail, SendGrid, or Amazon SES) in production to send actual activation and password reset emails. - Social Authentication: Explore the
social_djangoapp integration with Djoser to allow “Login with Google” or other providers. - Security: Set
DEBUG=Falsein production, use a proper database (PostgreSQL), setALLOWED_HOSTS, and use HTTPS. - Customization: You can override Djoser’s views or serializers further to add fields like a profile picture or phone number during registration.
To watch the full tutorial on YouTube, click here.
This tutorial provided a solid foundation for a modern, secure authentication system. By leveraging Django, Djoser, and JWT, you’ve created a backend that is separate from your frontend (a “headless” architecture), scalable, and follows industry best practices. Happy coding, and remember to always keep your users’ data safe!
You can view and clone the complete project code from the accompanying GitHub repository.
Watch The Video
Watch on YouTubeHow did this article make you feel?
Share This Post
You Might Also Like
Moving beyond standard CRUD applications is a hallmark of a growing developer. One of…

Learn to build a full-stack AI chatbot using Google's Gemini API, Django backend, and…

Learn to build a complete CRUD application step-by-step using Django REST Framework and…

Learn to build a full-stack TODO application from scratch. This beginner-friendly…
Leave a Reply